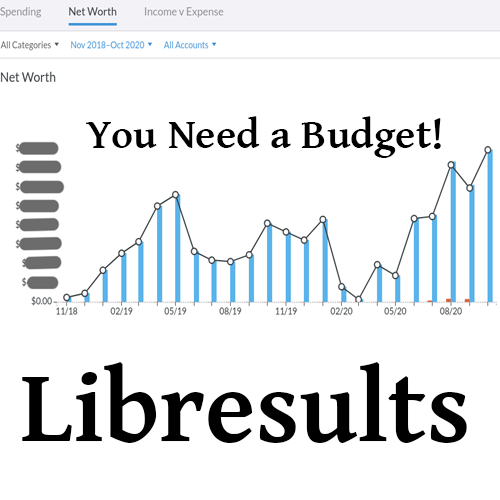
In this tutorial I will be following up on the Libresults Podcast Episode 2 – The Importance of Budgeting and showing how I personally use the budgeting software “You Need a Budget” or YNAB for short.
First things first, you will need to sign up for YNAB.
YNAB is $11.99 per month or $84 per year and has a free 34 day trial plan.
If your a student then YNAB is FREE!
This link is a referral link, if you sign up using this link then I get 1 month of YNAB for free YouNeedABudget – Thank you!
If you’re a student this link let you sign up for free YouNeedABudget/College
Important thing to remember; It’s ok to make a mistake. When you make a mistake relax, YNAB makes it easy to correct errors and make changes. Ctrl-Z (undo) is your friend.
Adding your bank account
While you are learning to use YNAB I recommend that you do NOT “Link” your bank account. Linking allows YNAB to pull data automatically and directly into your budget. I did this in the beginning and got crazy confused. Add your bank account as an “Unlinked” account.
Starting Balance
You don’t need to enter all the transaction data from your bank statement. You may if want to but it’s not necessary. I just took my available balance and entered it as my starting balance for my budget, and that was the starting point for me.
You can also track your cash spending. I don’t do this but I can see how it could be useful for some people.
Setup your categories and category groups
By default YNAB has example category groups and categories already made for you. I personally didn’t find these very applicable to me as well I was a bit confused as to how to work with them.
I watched a wonderful video by Nick True entitled YNAB For Beginners – Quick Start Guide (2018) It was this video which really allowed me to realize the power of YNAB
You can set up your category groups however you want to, I encourage you to experiment and find what works best for you. The following is what works best for me.
I prefixed my category groups them with a number, this is for prioritization, the lower the number, the higher the priority. Categories in the Priority 1 category group MUST be funded at all times.
01-Fixed Expenses
These are categories that are relatively fixed and are regularly paid each month.
I name them by account name then amount needed then the date by which it’s needed.
I then sort them based on the date that they need to be paid. To sort just click on the category name and drag it into position.
Bills at the 1st of the month go on top.
Examples:
Rent – 1200 on the 1st
Storage Rental – 100 on the 1st
Comcast 100 on the 4th
Digitalocean – 50 on the 5th
Ting – 25 on the 24th
02-Living Expenses
These are categories that I need to fund for basic day to day life
I name them with a dollar amount that I would like them to be funded to
Examples:
Vices – 100
Groceries / Toiletries – 150
Gas – 200
03-Vehicles
These categories are longer term cats regarding vehicles
Examples:
Tabs – Honda 100 every April
Auto Maintenance – 100
Long Term Expenses
Amazon Prime – 135 Every November
Home Maintenance
Medical
Clothing
Giving
Computer Replacement
Unexpected Expenses
Examples:
Adjustments
Stuff I forgot to budget for
Make some category groups and categories that make sense for the way you live your life.
Give your money jobs to do.
A key concept in YNAB is that for every dollar that you receive, you assign it a job to do.
If you are not already on the Budget screen then click on “Budget” near the top left of the screen.
You should see a large green box at the top center of the screen labeled “To be Budgeted” This is the money that currently have no purpose, they are poor lost dollar bills that need something to do.
Which categories should you fund first? Especially if you currently don’t have enough money to fund them all. This is why I prioritized them.
Look at today’s date. Fund your categories starting with the highest priority based on when is it due.
Example: Today is the 5th, I’ve already paid the bills due on the 1st but not the 4th or the 5th yet. So I will first assign dollars to the Comcast bill which was due yesterday. Then to the Digitalocean, a bill due today. Then to the next bill, then the next, and so forth.
If you run out of money to be budgeted before you can fully fund the entire month, that’s ok, so long as you are expecting another payday before they are due. In this case fully fund all your bills up to your next payday. If you still don’t have enough money then you are probably living above your means and you should seriously look at eliminating unnecessary bills from your life and / or increasing your income.
If you are able to fund all your monthly bills and have money left over then “Congratulations” you can now start fund the other categories in the same manner.
Getting ahead
Another key concept in YNAB is to be able to pay today’s bills with last months money.
Once you have completely funded your monthly categories you still have money left to be budgeted you can begin to over fund categories. I set a goal for each category of 2x. So if my Ting bill is $25 I would like to have it’s category funded to the tune of $50. I begin with my smallest bills first as they are the easiest goals to reach and it just make me feel better quicker.
Once you have fully reached your 2x goals you can keep increasing to 3x or more. If you have funded all your bills by 3x then you know that if for some reason you loose your income, you have the bills covered for 3 months. This gives you the most precious of all things, time. you know that you have approx 3 months to get your act together to bring in more money.
For me, after I have 3 months of bills paid I then start funding less important things, like a new computer, vacations, eating out, etc.
Adding Transactions
Deposits
When money gets deposited to your account click on the appropriate bank account then click “Add Transaction”, Choose the date of the deposit.
For Payee I typed in “Me: Salary” YNAB will create a new Payee named “Me: Salary” if it doesn’t already exist.
Since the deposit is income enter it into the “inflow” box. If the deposit is actually in your bank account and available according to your bank statement then click the “c” next to the inflow box to indicate that this transaction is currently “cleared”.
Purchases
Recording purchases is basically the same as recording deposits, you just record the money in the outflow box instead of the inflow box, assign it to a Payee (or create a new Payee) and check the “cleared” button accordingly.
That’s basically how I do it, YNAB has a lot more features not covered here, I encourage you to poke around and try them out.
If you’re afraid of messing up your budget don’t be. YNAB also has a feature where you can have multiple budgets. Just make a budget for experimenting.